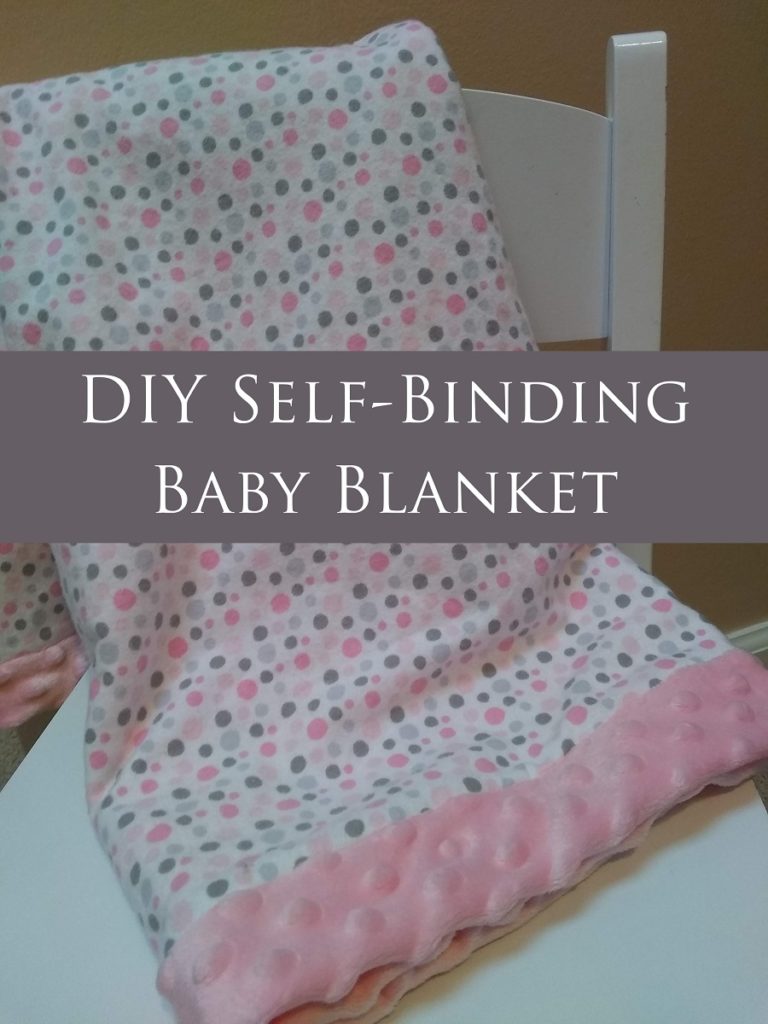
After finishing up the crib sheets, changing pad cover and pillow cover for the nursery, I found myself with a more than expected amount of extra fabric. Since baby #2 is coming in the middle of summer, I haven’t purchased a single baby blanket for her. We figured if we needed blankets, we still had all the ones from baby #1 and I really don’t have a problem with my daughter using a dinosaur blanket. But, since I had some extra fabric, I decided there wouldn’t be any harm in making a baby girl blanket or two. After perusing the web for a bit, I decided on a self-binding minky baby blanket. If you’d like to make one too, here’s what you’ll need:
Supplies:
- 1 yard minky fabric
- 1 yard coordinating fabric
- Water Soluble Fabric Pen
- Clips and/or pins
- Walking Foot
- Sewing machine, needle, thread, etc.
DIY Self-Binding Baby Blanket
- To make the self-binding aspect of the blanket, we need the minky fabric backing to be larger than the front coordinating fabric. To do this, cut your minky fabric into a 40” x 40” square and the coordinating fabric into a 30” x 30” square.

- Then, we need to mark the center of each edge of each of our pieces of fabric. To do this, fold your minky in half and using a washable fabric pen (I’m a fan of this one), mark the center point along edges of the fabric. Then, fold the fabric so the other sides are together and mark the center point along the edges of the fabric. Repeat this process with the coordinating fabric. To make the self-binding aspect of the blanket, we need the minky fabric backing to be larger than the front coordinating fabric. To do this, cut your minky fabric into a 40” x 40” square and the coordinating fabric into a 30” x 30” square.

- Place your minky fabric face up and the coordinating fabric on top of it, face down. Along one edge, line up the center markings. Pin or clip the fabrics in place. You will have 5 inches of minky fabric sticking out on either end of the coordinating fabric. Mark ¼” from the edge of the coordinating fabric (as shown) on both ends. This is where you will start and stop sewing. Using a ¼” seam, sew along the clipped edges from one ¼” mark to another. Repeat this process with the opposite side of the blanket.

When you have finished sewing the opposite sides, your blanket will look something like this:

- We repeat Step 2 with the remaining unsewn sides of the blanket. Line up the center points and pin/clip from the center out. Mark ¼” from the edge on the coordinating fabric and sew. Mark sure to leave a 4-5” gap on one side so you can turn the blanket right-side out.

- With all 4 edges sewn, it’s time to miter the corners. This step can seem a bit confusing at first, but by your second or third corner, you’ll have it down. Pick a corner to start with and pull the coordinating fabric up and out of the fold of the blanket while lining up the seams.

- To ensure your seam is lined up and your fold is correct, use a ruler. The seam should be at a 45 degree angle and the bottom of the minky should be perpendicular to the side of the coordinating fabric. (My ruler wasn’t long enough to check the angle of the seams and ensure the sides are perpendicular at the same time, so I checked them individually.)

- With your seams lined up and the minky and coordinating fabric perpendicular to each other, use a washable fabric pen to mark along the edge of the ruler on the minky.
- With the corner marked, carefully move to your sewing machine and sew down the marked line. You may want to pin around the corner to ensure the fabric doesn’t shift while being moved. Once you’ve sewn down the marked line, clip the corner leaving ¼”.

- Repeat this process for the remaining 3 corners.
- Once you have sewn and clipped all 4 corners, turn the blanket right side out and smooth. Pin or clip the hole you used to turn the blanket right-side out closed and top stitch along the minky binding of the blanket. I found it helpful to clip the edges of the blanket in place to ensure the fabric didn’t shift while completing the top-stitch.

Once you’ve finished your top-stitch, you’re all done! That wasn’t so bad despite how confusing the corners seemed at first. I don’t know about you, but I think these are going to be my new go-to baby gift. They’re so quick and cute!


Pingback: DIY Nursery Decor From Start to Finish – K$ Krafts