

A few months or so ago a good friend of mine asked if I would be willing to fix a quilt she’d made for her son. Props to my friend, she made the whole thing by hand! Unfortunately, in the battle of quilt vs washing machine, the washing machine was victorious. I have a little experience quilting and told her I’d be happy to give it a shot. Here’s a little peak at what the quilt looked like:

The binding had torn away from the fabric in a couple of places and a lot of the stitching between the squares had torn. After a quick inspection, I knew I’d have to disassemble and reassemble the entire thing. So I grabbed my handy seam ripper, turned on the TV and went to work. I probably spent less than an hour ripping stitches and pulling the quilt apart. I discarded the batting and ribbon used for binding, but kept the fabric squares and backing material. Unfortunately, the washer really did a number on the edges of the squares.

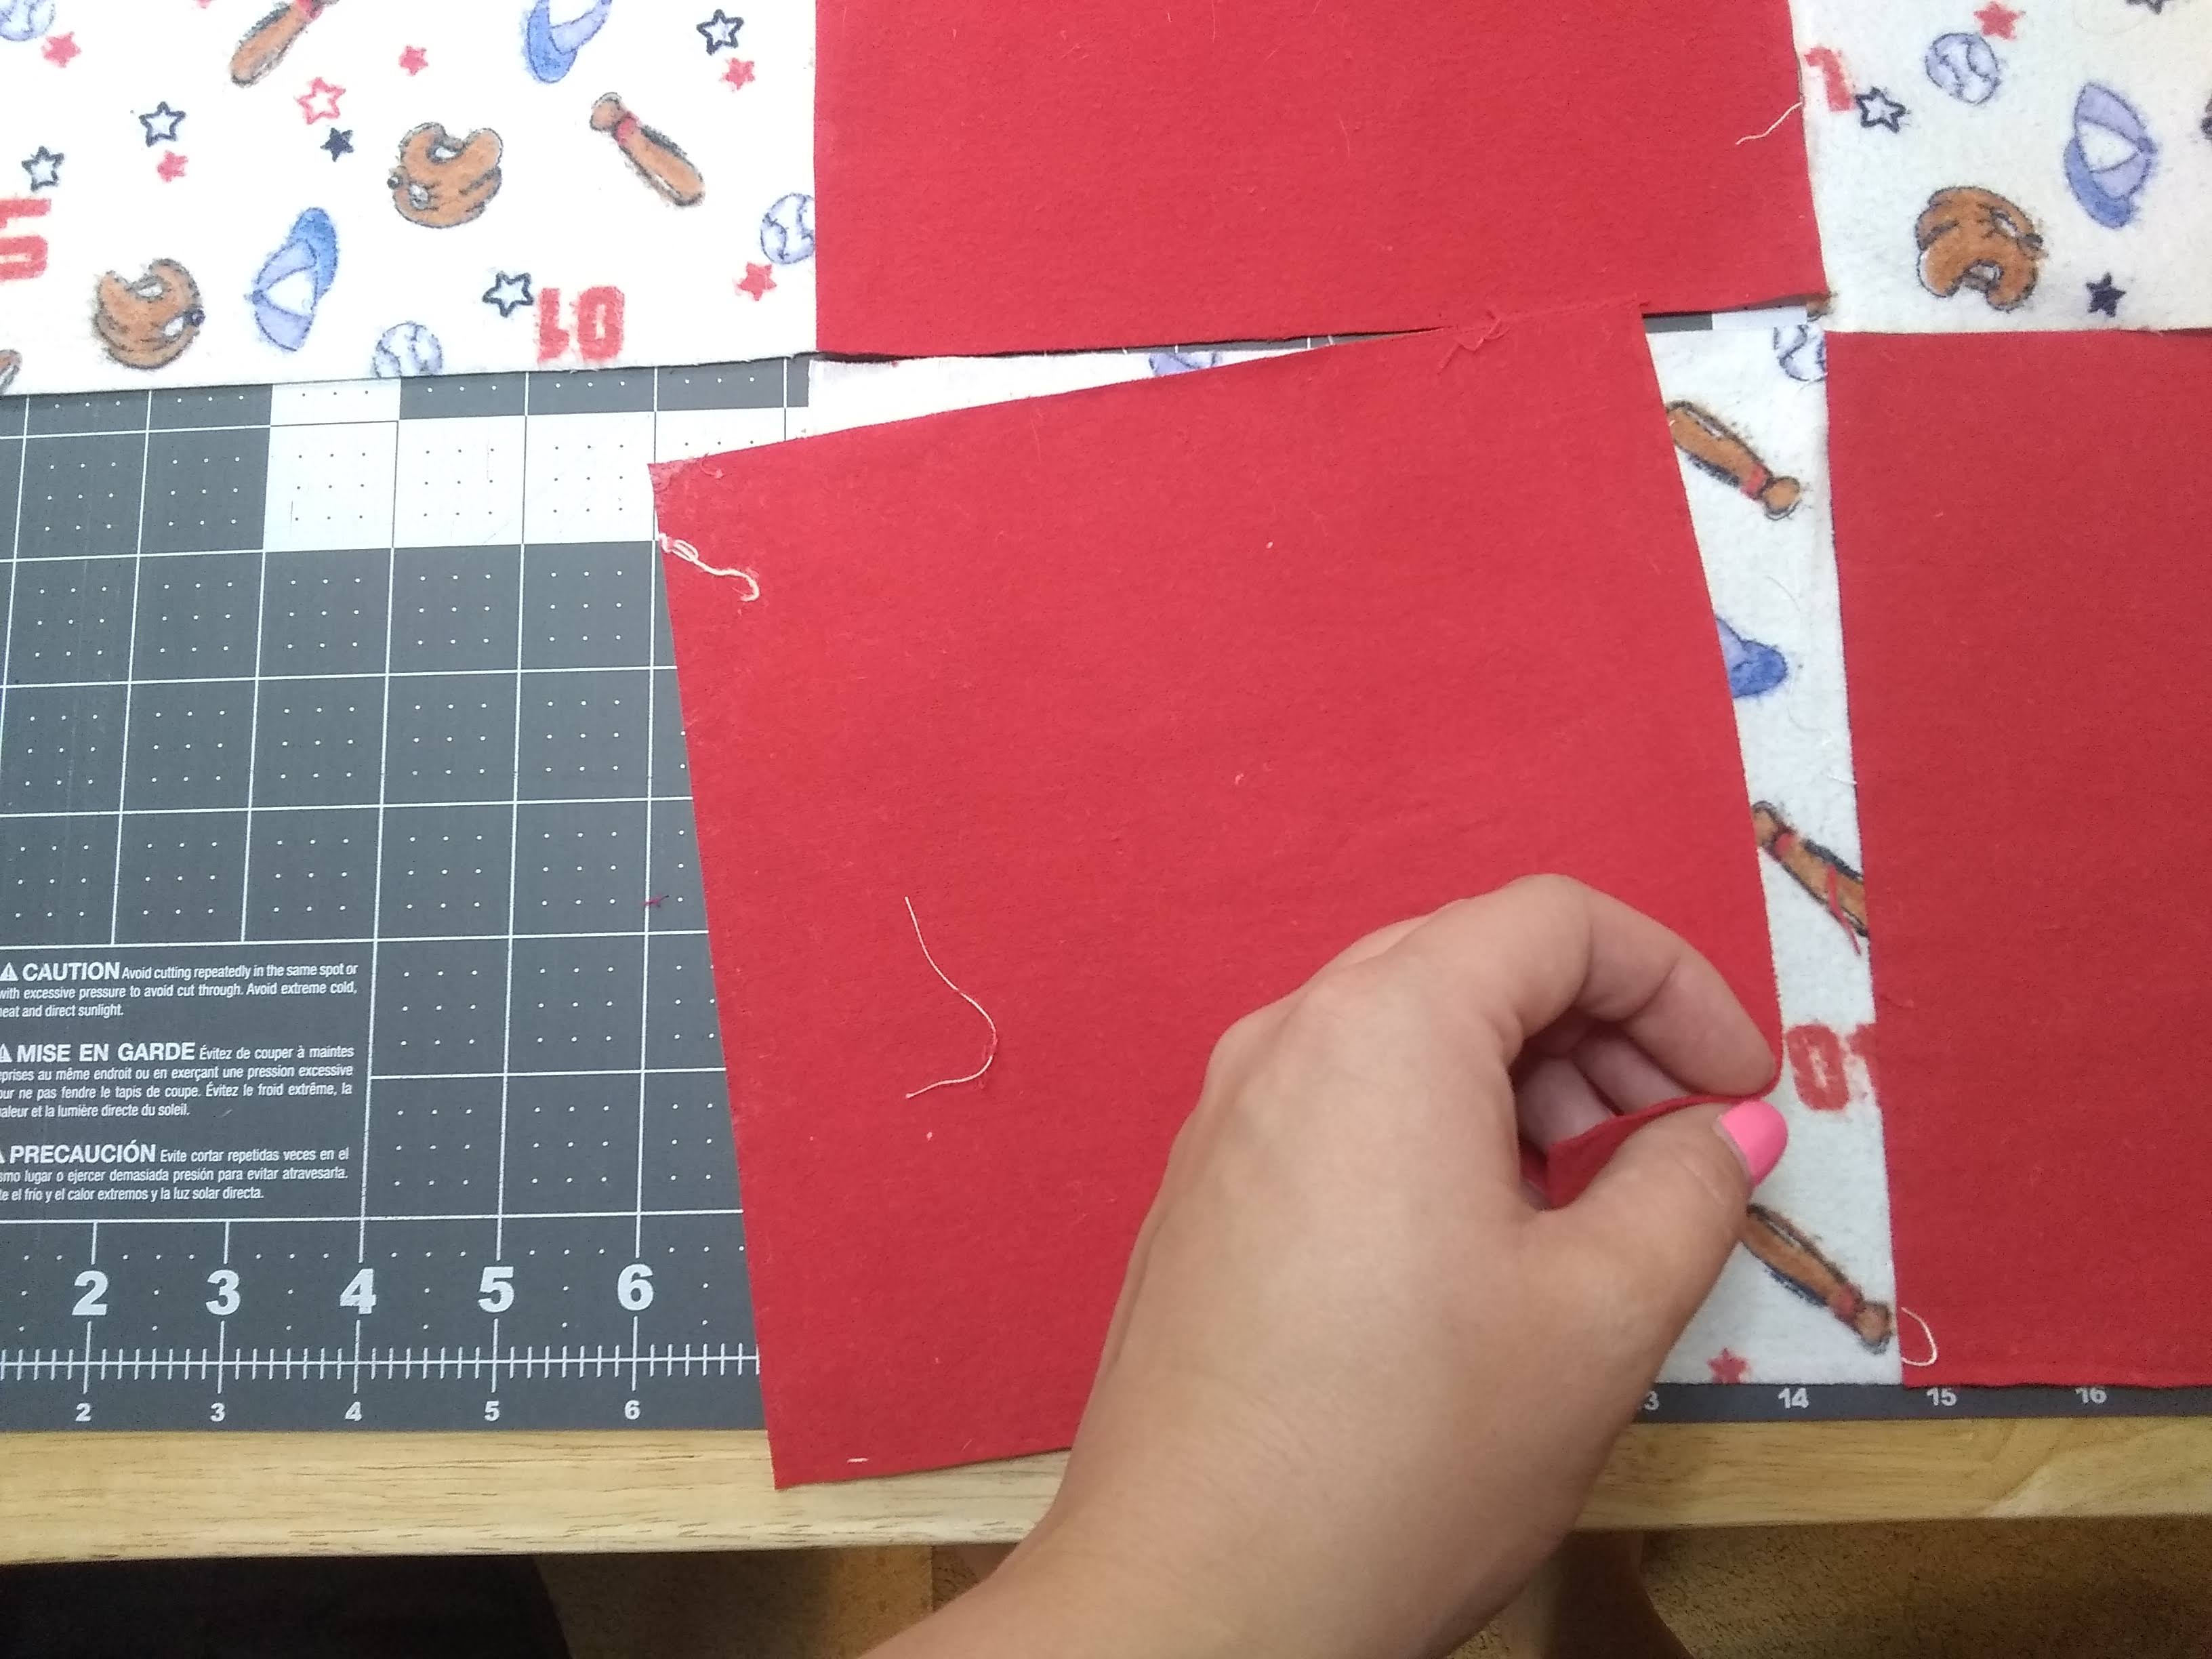
I toyed with the idea of trimming only the frayed edges, but upon further inspection, I decided the best course of action would be to re-square everything. Some of the squares weren’t square after the washer. Originally, I believe the squares were 8.25”, but I couldn’t tell and it wasn’t important enough to spend time figuring out. Instead, I pulled out by 7.5” x 7.5” ruler and decided to trim up the frayed squares. I probably could have gotten slightly larger squares out of the fabric, but it was too easy when I had the 7.5” square ruler. I also knew that even when accounting for seam allowances, I’d have a decent sized quilt at the end.


With the quilting squares all trimmed up, I felt I was starting with a clean slate. From this point, I was simply making my own quilt. If you’re interested in making your own quilt, keep reading.
Supplies:
- 11 7.5″x7.5″ squares in fabric 1
- 9 7.5″x7.5″ squares in fabric 2
- 35″ x 42″ fabric for backing
- 35″ x 42″ batting
- 1/2 yard fabric for binding
- Walking foot
- Clips
- Sewing machine, needle, thread, etc.
DIY Quilt for Beginners
- Once you have your fabric squares cut, it’s always helpful to lay them out on the floor or a table to get an idea of what your quilt will actually look like. This also gives you an idea of how big or small your quilt will be.

- When you’re happy with the way the quilt looks, it is time to start sewing. I prefer to sew row by row and then attach the rows. I also work from left to right. Take the bottom left square and fold it over onto the square immediately to its right so the two squares are right side together. Then, sew along the left hand side using a ¼” seam allowance.

Then fold the squares you just sewed so the second square is right side together with the third square. Sew along the left edge using a ¼” seam allowance. Repeat this process across each row.

- When all of your rows are sewn, it’s time to move to the ironing board. I say ironing board, but in quilting and sewing in general it is important to remember we press we do not iron. Ironing often results in stretched and skewed fabrics. Instead, we want to press our fabric. Press the seams of each row in the same direction. For example, press all the seams of row 1 to the left. Then press all the seams of row 2 to the right. Repeat this pattern for all of the rows of your quilt.

- With the seams pressed, it’s time to sew the rows together. Fold row 1 up onto row 2. Pin the rows together and sew along the bottom edge using a ¼” seam allowance.
I always struggle with getting my corners to match up. In an attempt to get perfect corners, I decided to over pin like crazy. First, I went square by square and ensured the seams of my rows lined up perfectly. Then, I placed one clip on the seam, one in front of and one behind it. I tend to get excited when sewing and go too fast. The clip in front is to remind me to calm down and slow down as I need to be careful and ensure the seams match up. The middle and back clips are just to help keep everything in place.

- Repeat Step 4 for the remaining rows of your quilt. When all of your rows have been sewn together move over to the ironing board and press the seams of your rows flat. Do not press them open. Congratulations, your quit top is finished!

- Now it’s time to assemble the layers of your quilt. The table in my sewing room isn’t quite big enough for this process so I usually move to the laundry room floor. You’re going to want a hard surface (carpet isn’t ideal). Place your backing fabric right side down. Then coat the wrong side of your backing fabric with a thin layer of basting spray (I like Elmer’s Craft Bond) and lay your batting on top. Smooth out any wrinkles (real talk: I ended up going to the ironing board and using the iron). Once your quilt backing and batting are wrinkle free, spray the top of the batting with another layer of basting spray and lay your quilt top on top, right side up. Center it as best as possible.
You should have much more fabric and batting around the edges of your quilt top. Since I was working with an existing quilt, I didn’t have a lot of extra slack.


- With your quilt sandwich in place, it’s time to start the actual process of quilting the layers together. The basting spray should be enough to hold your layers together, but you can always employ safety pins to keep things in place if you are worried about them moving.
There are millions of different ways to quilt your layers together. You can do diagonal lines across your quilt blocks, or quilt along the existing seams. I decided to do parallel lines on either side of each seam. It’s a look I’ve seen a couple of times and was excited to finally get to try it.
If you haven’t been using a walking foot up to this point, you’re definitely going to want to switch. The walking foot has feed dogs on it so the fabric is pulled from both the top and the bottom. This prevents your quilt sandwich from becoming skewed. Personally, I have the Singer Walking Foot and don’t have any complaints about it.


- Once you’ve finished quilting all your layers together, trim the excess backing fabric and batting from around your quilt top. This is also a nice opportunity to square up your quilt top if things got a little wonky. When you’re done, you should have 3 layers (backing, batting and top) all quilted together and cut to the size of the quilt top.


- At this point, we are ready to add the binding to the edges of the quilt. First, we need to figure out how much binding material we will need. To do this, measure the perimeter of your quilt and add 10”. Then, from your binding material, cut as many 2.5” strips as you will need to surround your quilt. I needed 3.09 strips. I decided to just cut 4 rather than deal with the 0.09.

- With our binding strips cut, we need to sew them together. Place two strips right side together perpendicular to each other with the edges overlapping by a ¼” or more. Then using a washable fabric marker, draw a line from one corner to the other (as shown) and pin/clip together. Sew along the marked line. Trim to ¼” seam.


- Repeat Step 10 for all of your binding strips. Once you have one continuous binding strip, move to the ironing board. Iron the seams open. Then, slowly working from one end to the other, press your binding strip in half, wrong sides together.


- Once the binding strip has been ironed in half, it’s ready to be attached to the quilt. I decided to machine bind my binding. This means I needed to attach the binding to the back of my quilt. Starting in the middle of one side of the back of the quilt, clip the raw edge of the binding to the raw edge of the quilt leaving a 10” unsewn tail. Put a small mark ¼” from the corner.

- Using a ¼” seam allowance, sew the binding to the back of the quilt. Stop when you reach the ¼ mark and be sure to backstitch at the beginning and end.

- To miter the corners, fold the tail of the binding up so a 45 degree angle is formed with the binding and the backing. Then, fold the binding down so the raw edge lines up with the perpendicular edge of the quilt. Clip in place and continue clipping down the side of the quilt. Start sewing again using a ¼” seam allowance along the clipped edge. Repeat this process for all sides and corners. Stop when you are approximately 15” from the start of your binding.


- When you’ve attached the binding to all 4 sides of the quilt and have left an approximately 15” gap between the start and end of your binding, it’s time to attach the ends of your binding. First, cut your start tail so it falls about halfway through your gap.

- Then, lay your end tail on top of the start tail with the raw edges lined up.

- The amount of overlap you need between your start tail and end tail is the width of your binding strip (2.5”). Using a scrap trimmed from the start tail, lay it over the overlap so one edge is lined up with the end of the edge of the start tail.

- Cut your end tail so you have a 2.5” overlap between the start and end tails.

- Just like we did in Step 10, align the tails so they are perpendicular to each other with right sides together. Do not leave any overlap. Mark from corner to corner with a fabric pen. Before sewing, ensure your tails are pinned properly, by attempting to fold the binding into place (this will be difficult because of the pins, but it will save so much time and seam ripping- trust me)
Real Talk: I had to repeat this step 3 times before I got my binding strips attached correctly. So much time with the seam ripper *sigh*

- Once you have the tails of your binding pinned, move to the sewing machine and sew from corner to corner. Trim the edge to ¼” seam allowance. Iron the seam open and fold the binding strip in place. It will lay perfectly along the raw edge of your quilt.


- Sew the newly finished binding to the quilt back. Be sure to backstitch at the beginning and end.

- With our binding fully attached to the back of the quilt, it’s time to attach it to the front. First, we move to the ironing board and press the binding away from the back of the quilt.


- Flip the quilt over so the top of the quilt is facing up. Fold the binding over the raw edge so that it covers the stitching attaching it to the back. Iron in place. Clip for extra security. When you get to a corner, press the top binding as shown in the picture.

- Fold the perpendicular side of the binding over the raw edge of the quilt and iron the corner in place. This will yield a mitered corner on the front of the quilt.

- Repeat this process for all 4 sides and corners of the quilt. Then, move back to the sewing machine and sew the binding in place. Sew as close to the edge of the binding as possible. When you reach a corner, put the needle down, lift the presser foot and rotate the quilt 90 degrees, then continue sewing. Be sure to backstitch at the beginning and end.

Once your binding is attached to the front of the quilt, you’re finished! I hope you picked up the quilting bug like I did. I’d love to see pictures of what you’ve made!